
DIY Professional Headshot Guide

A great DIY professional headshot is more than just a picture—it’s your personal logo, the first thing people see. It instantly shapes their impression of you. When you learn to take your own high-quality photo, you get complete creative control, save hundreds of dollars, and end up with an authentic image that truly strengthens your personal brand.
Why a Great Headshot Matters More Than Ever
In our fast-paced online world, your headshot does the heavy lifting long before anyone reads your bio. It’s the first thing a recruiter, potential client, or new connection notices. This single image immediately communicates your professionalism, confidence, and approachability. A blurry, poorly lit, or outdated photo can send the wrong message, suggesting a lack of attention to detail.
This puts many professionals in a tough spot. You know you need a polished image, but you hesitate at the cost of a traditional photoshoot, which can be expensive and time-consuming. The good news? You don’t have to settle for a low-quality selfie or shell out for a high-priced photographer.
The Power of First Impressions
The impact of your profile picture isn't just a feeling; it's backed by science. People form snap judgments about trustworthiness and competence in as little as 100 milliseconds just by looking at a photo. While professionally shot images often score higher, a well-executed DIY headshot can capture that same authority and warmth.
Taking control of your own professional image empowers you to present the exact persona you want to project—confident, capable, and ready for the next opportunity. It's about crafting an authentic representation of your personal brand.
Your professional headshot is a cornerstone of your online brand, especially on platforms like LinkedIn. For a more complete approach to your digital presence, you can explore additional tips to optimize your LinkedIn profile. This guide will walk you through exactly how to create an amazing DIY professional headshot that makes your profile shine.
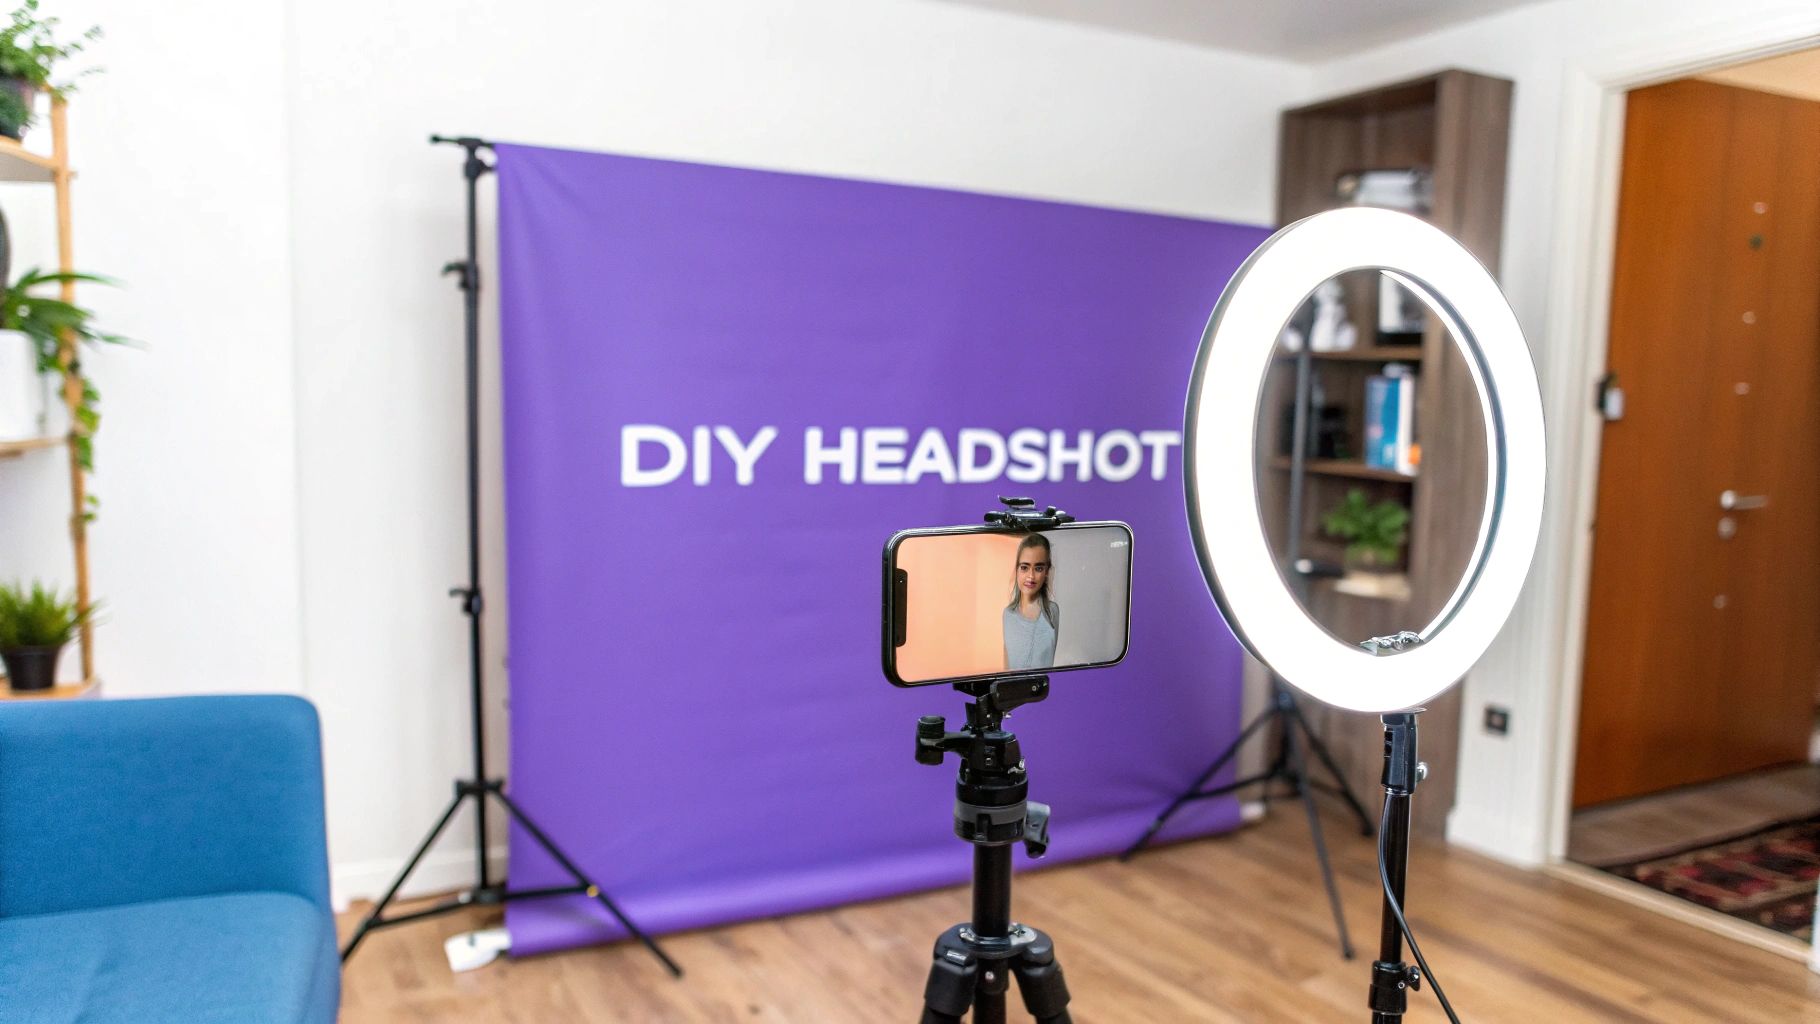
Assembling Your Home Studio Gear
Getting a professional-looking headshot at home doesn't require a trip to the camera store. Honestly, the best tool is probably already in your pocket—your smartphone. Modern phone cameras are incredibly powerful, capturing high-resolution images that are more than sharp enough for any professional use.
The one piece of gear that will truly elevate your shot, though, is a tripod. It’s the secret to eliminating the camera shake that screams "amateur." A simple, affordable tripod guarantees your shots are crisp and lets you use a self-timer, so you can pose naturally instead of awkwardly holding your phone at arm's length.
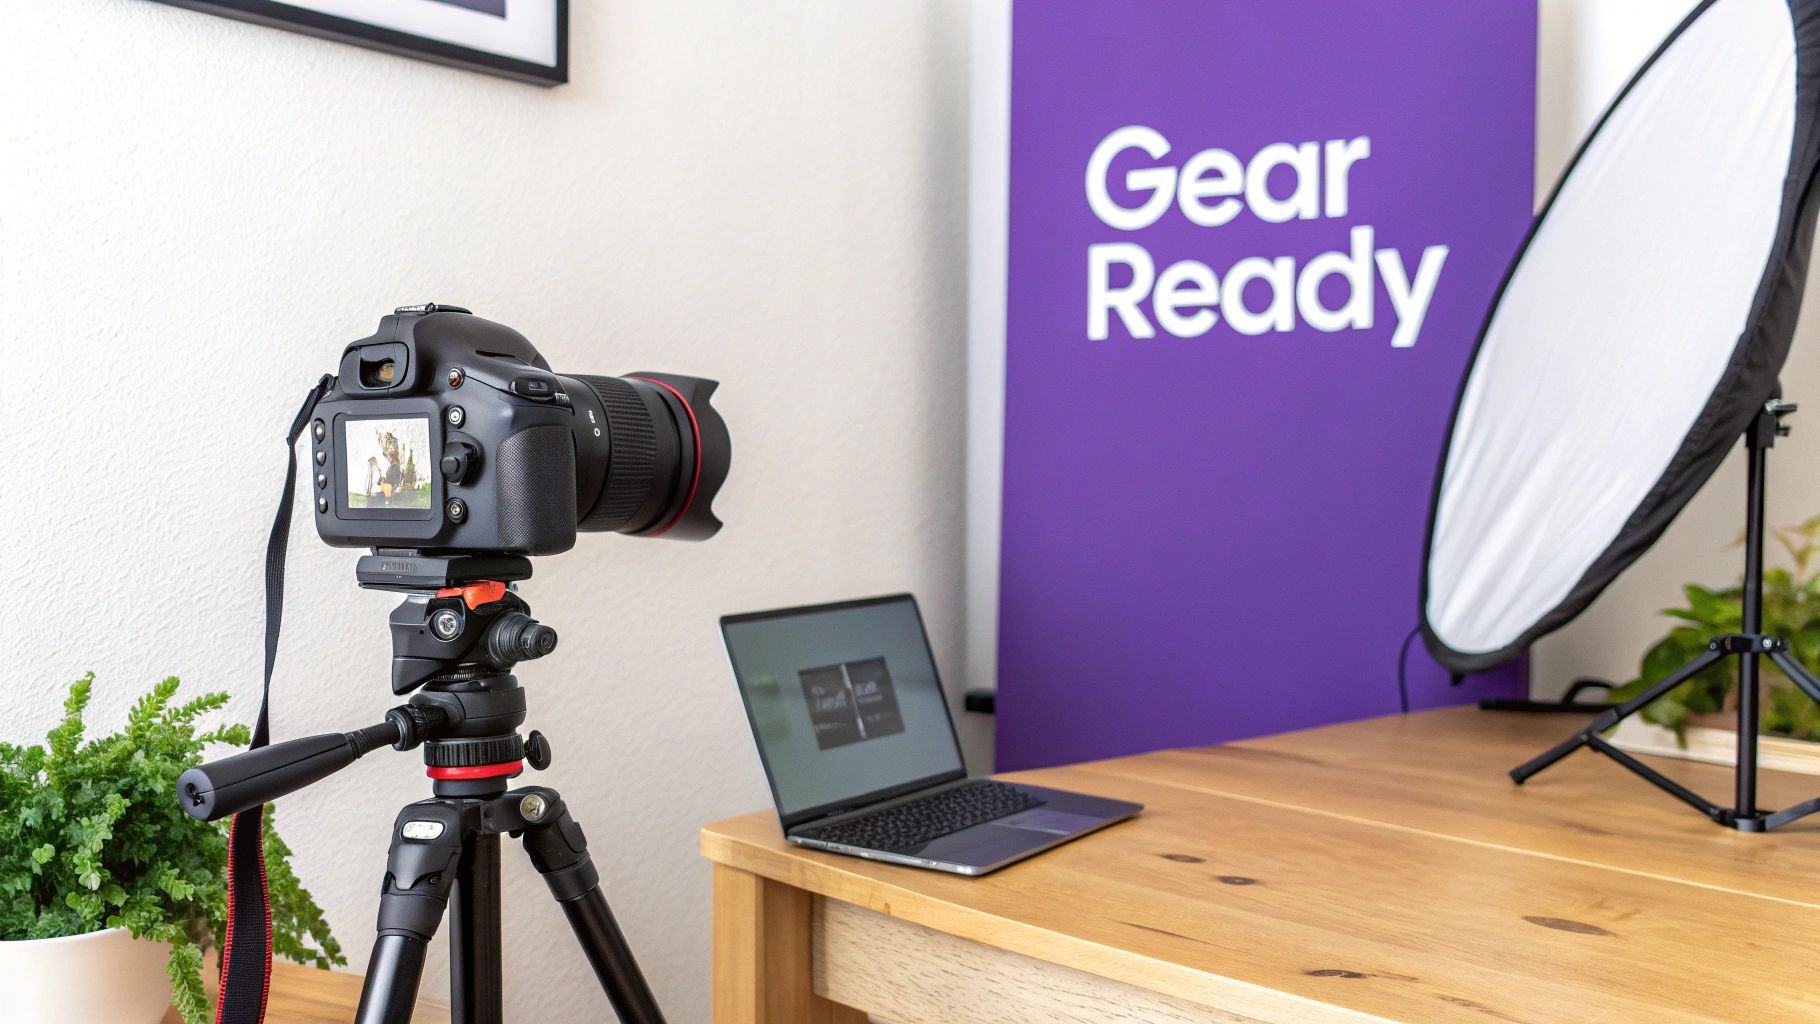
Your Camera and Support System
While your phone is a fantastic starting point, if you're looking to invest a little more, it's worth exploring some budget-friendly camera options. Whatever camera you end up using, a stable base is absolutely non-negotiable.
Pro Tip: No tripod? No problem. Get creative. A stack of books on a sturdy table or even a stepladder can do the trick. The goal is simple: create a stable, eye-level platform for your camera so you can be completely hands-free.
This stability is what separates a polished headshot from a selfie. Don't just take my word for it—a recent survey found that 78% of hiring managers prefer professionally taken headshots. Investing in just a few basic pieces of equipment helps you bridge that quality gap and present yourself in the best light.
To help you decide what you need, here's a quick breakdown of your gear options.
DIY Headshot Gear Comparison
| Equipment | Budget-Friendly Option | Upgraded Option |
|---|---|---|
| Camera | Your smartphone | Entry-level DSLR or Mirrorless Camera |
| Support | A stack of books or a sturdy surface | A basic, adjustable tripod |
| Lighting | A large window with natural light | A ring light or a single softbox light |
| Backdrop | A plain, neutral-colored wall | A seamless paper or fabric backdrop |
Ultimately, the best gear is the gear you have. Start with what's available and upgrade as you see fit.
Lighting and Backdrop Essentials
Next up are your lighting and background. You don’t need a complicated, expensive studio light setup. The best light is often free—just position yourself facing a large window on an overcast day. This gives you soft, flattering light that's hard to beat. If natural light isn’t an option, a simple ring light or even a standard lamp with the lampshade removed can work wonders.
This image shows a classic lighting setup that’s super easy to replicate at home.
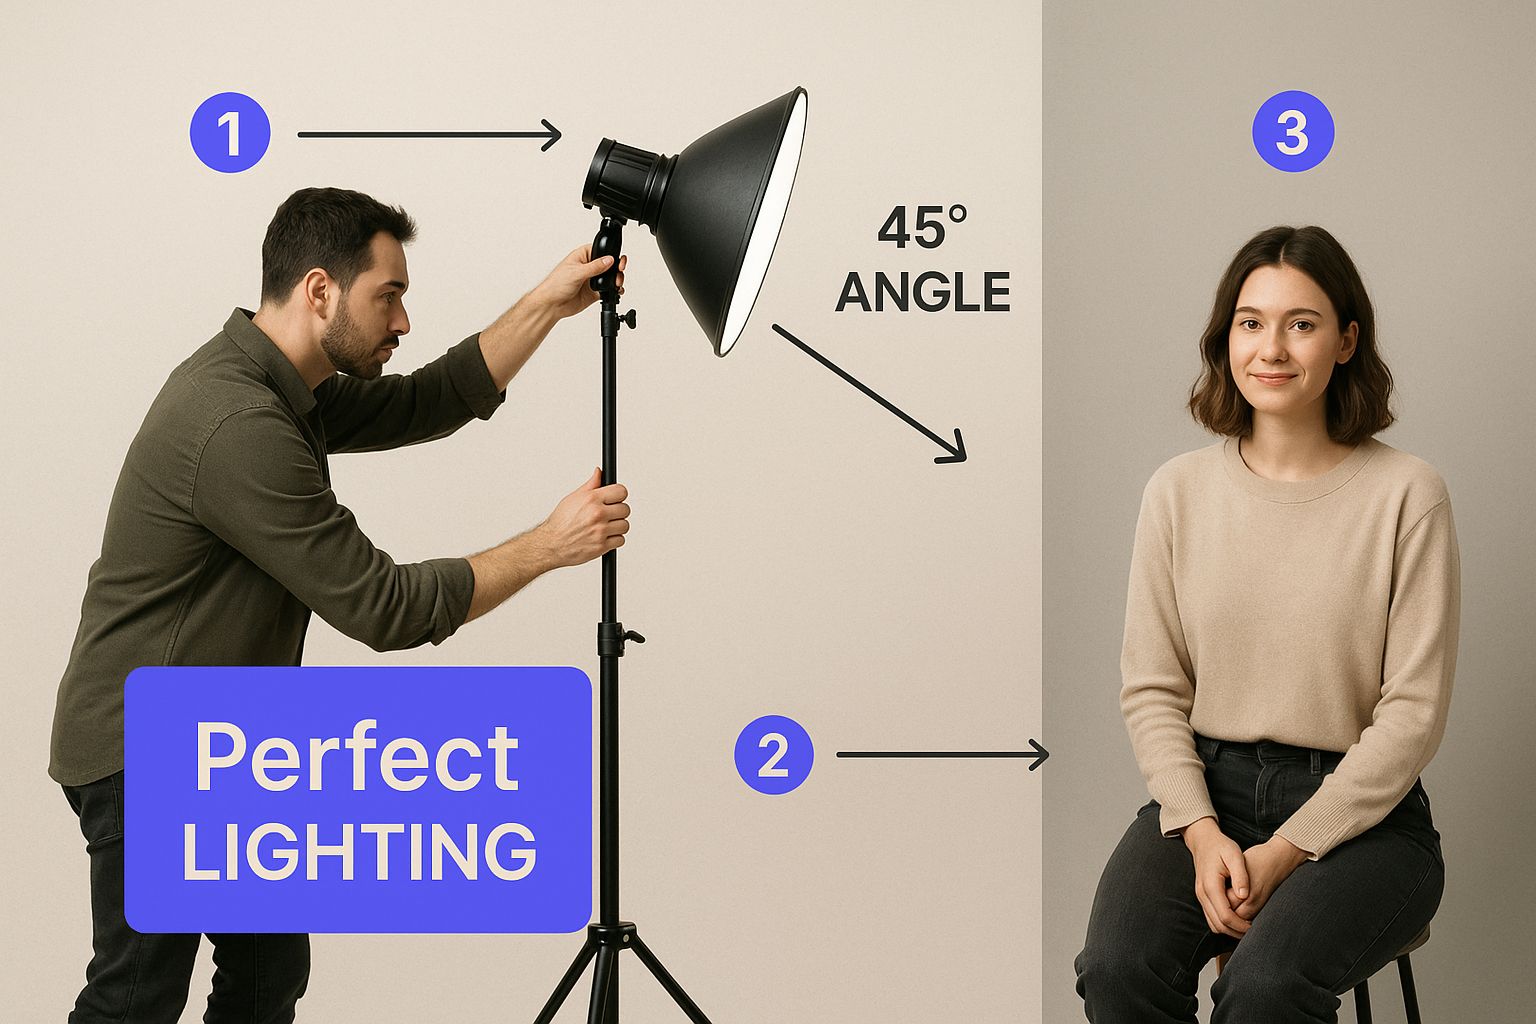
The main takeaway here is to position your light source at a 45-degree angle to your face. This creates soft shadows that add depth and dimension, preventing your photo from looking flat.
For your backdrop, keep it simple. A plain, neutral-colored wall is perfect because it keeps the focus entirely on you, right where it should be.
Mastering Light and Background for a Pro Look
Lighting isn’t just an add-on for your DIY professional headshot—it’s the main event. It’s what separates a polished, authoritative photo from a low-effort selfie. The good news? The best light source is probably already in your home, and it’s completely free.
Your mission is to find soft, diffused light. This kind of light wraps gently around your face, smoothing out skin texture and minimizing harsh shadows. It also adds that professional-looking sparkle to your eyes. The easiest way to get this is by standing and facing a large window, ideally on an overcast day.
If the sun is out and shining bright, that direct light will be far too harsh. An easy fix is to hang a thin white sheet over the window. It instantly acts as a giant diffuser, softening the light and giving you a much more flattering look.
Crafting Your Lighting Setup
Once you’ve found your light source, positioning is everything. If you're using a window, stand about three feet away from it, facing it head-on. This lets the light hit your face evenly and gets rid of those distracting shadows under your nose and chin.
From there, turn your body to a 45-degree angle from the window, but then turn your head back to face the light. It's a simple pro trick that adds just enough shadow to create depth and dimension, keeping your photo from looking like a flat, boring mugshot.
What if natural light just isn't going to work? No problem. You can get a similar professional look with a basic lamp.
- Grab a lamp that you can place at roughly face level.
- Take the lampshade off to get a stronger, more direct light source.
- Position the lamp at a 45-degree angle to your face, just as you would with a window.
The single biggest lighting mistake people make is relying on an overhead ceiling light. It’s a recipe for disaster, creating deep, unflattering shadows under your eyes and casting a weird color on your skin. Always make sure your main light is in front of you and just a bit above eye level.
Choosing the Perfect Background
With your lighting sorted, the last piece of the puzzle is the background. Truthfully, the best background for a headshot is one that nobody even notices. You want the focus entirely on you, not on a cluttered bookshelf or that busy wallpaper in the dining room.
A solid, neutral-colored wall is your best bet. Think light gray, beige, or a muted blue. These colors are clean and professional and won't clash with your outfit or skin tone.
Try to stand a few feet away from the wall. This small gap creates a subtle separation, making the image feel more dynamic and less like a passport photo. It also helps the background fall just slightly out of focus, which naturally draws all the attention to you—the sharp, clear subject of the shot.
Finding Your Confident Pose and Style
The secret to a great DIY professional headshot isn't just about the camera or the lighting. It’s about capturing a version of yourself that feels both authentic and confident. That process starts long before you press the shutter button—it begins with what you wear.
Your outfit needs to do two things: complement your personal brand and make you feel comfortable. If you're tugging at your collar or feel like you're in a costume, that awkwardness will come through in the photo. Solid colors are almost always a safe bet. Busy patterns or big, splashy logos tend to draw the eye away from your face, which is the star of the show here. Stick to jewel tones, earth tones, or classic neutrals like navy and grey that you know look good on you.
Aligning Outfit with Brand
Think about the message you want to send. Your clothes are the first clue people get about your professional identity.
- Corporate Pro? A well-fitting blazer or a crisp button-down shirt instantly communicates authority and seriousness.
- Creative Soul? This is your chance to show some personality. A stylish sweater, a clean t-shirt under a jacket, or a pop of color can signal creativity and approachability.
- Casual and Relatable? A simple, high-quality crewneck or V-neck in a solid, flattering color is all you need.
The goal is to look like you're about to walk into an important client meeting or an interview. If you feel confident in your clothes, it shines through. If you feel unnatural, that will show, too.
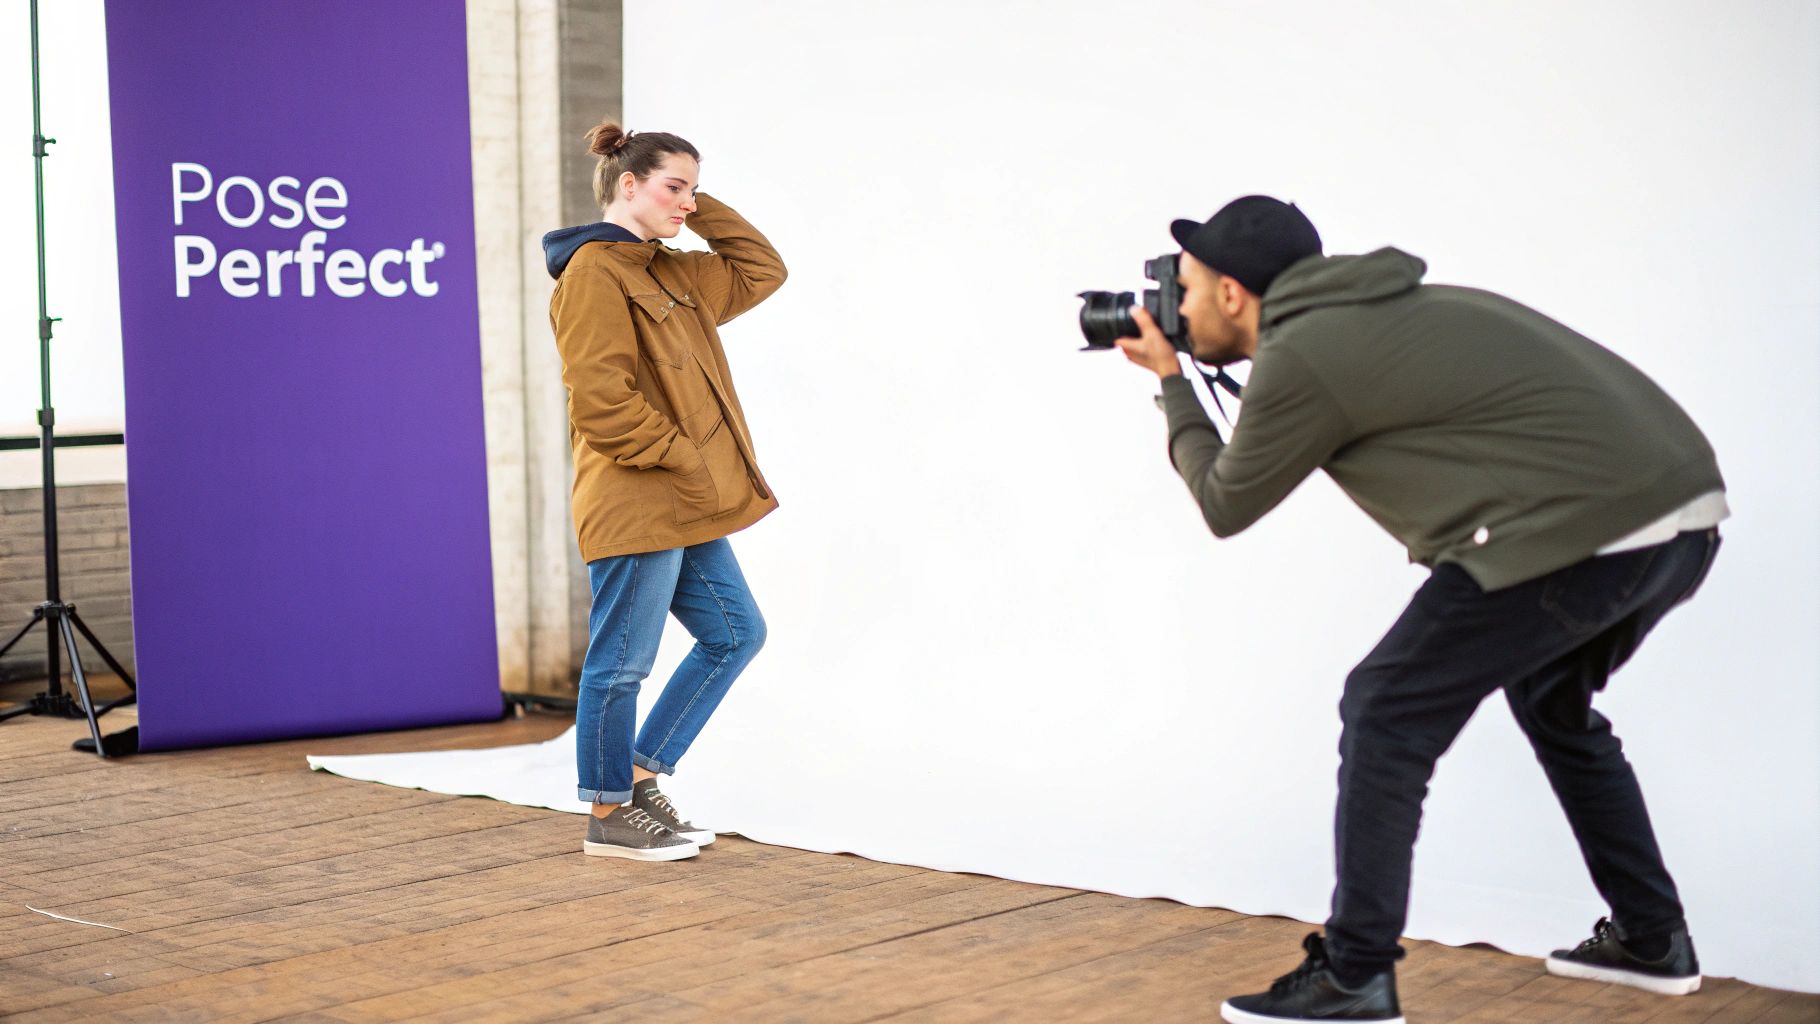
Posing for a Natural Look
Posing for your own photo can feel incredibly awkward. I get it. But a few simple tricks can make a massive difference. The biggest mistake people make is standing square-on to the camera. It looks a bit like a mugshot—confrontational and flat.
Instead, try this: angle your body about 45 degrees away from the camera. Then, just turn your head back to face the lens. This one little tweak creates more flattering lines and adds a sense of depth to the shot. It feels much more dynamic.
Here’s another pro tip that feels weird but works wonders: push your forehead slightly forward and tilt your chin down just a touch. On camera, this move magically defines your jawline and gets rid of any hint of a double chin.
Now for the smile. Don't just grit your teeth and say "cheese." That creates a forced, fake-looking grin. Right before the timer goes off, think of something genuinely funny or a memory that makes you happy. This will bring on a real "Duchenne smile"—one that actually reaches your eyes and radiates genuine warmth. Snap way more photos than you think you need. Having plenty of options is key.
Editing Your Headshot for a Polished Finish
The raw photo straight from your camera is just the starting point. The real magic happens in post-production, where you add that final layer of professional polish that transforms a good shot into a great one. Don't worry, you don't need a pricey software subscription or years of editing experience. Accessible tools like Lightroom Mobile or Snapseed are more than powerful enough for the job.
The key is to aim for subtle enhancements, not a total transformation. Your goal is a headshot that looks like you on your very best day—authentic and professional, not artificially filtered or overdone. The first and most impactful edit you'll make is the crop.
Cropping for Powerful Composition
Your first move is to frame the shot for maximum impact. A classic "head and shoulders" crop is timeless for a reason. It keeps the focus squarely on your face while providing just enough context to avoid that disconnected "floating head" look.
As a general rule, crop the image from the mid-chest area up. Make sure to leave a little bit of balanced space above your head so the composition doesn’t feel tight or cramped. This simple adjustment immediately makes your DIY headshot feel more intentional and polished.
Adjusting Light and Color
Next, it’s time to make small tweaks to the lighting and color. Even with a fantastic lighting setup, your camera won’t capture light and skin tones perfectly every time.
- Brightness: Slightly increase the brightness to make the photo feel more vibrant and full of energy.
- Contrast: Add just a touch of contrast to make the image pop. This deepens the darks and brightens the lights, giving your photo more dimension.
- White Balance: If your skin tone looks a little too orange or blue, play with the temperature slider until it looks natural and true to life.
The ultimate goal of editing is for no one to notice it was edited at all. The best retouching enhances what’s already there while removing temporary distractions. Think removing a stray hair or a temporary blemish, not altering your core features.
This DIY approach gives you complete control over the final image, ensuring it's an authentic reflection of you. While faster, AI-generated headshots can sometimes lack this personal touch and authentic feel, which is why having full control over editing is so important. You can find more details about this balance between DIY customization and AI options on headshotphoto.io.
Even with a careful setup, your image might benefit from final enhancements. Using AI image enhancement tools can help correct minor imperfections like subtle blurriness or lighting issues to achieve that truly polished finish. With these small but strategic edits, you’ll have a standout image ready for any professional platform.
Got Questions About DIY Headshots? Let's Clear Them Up
Even with a solid plan, taking your own headshot can feel a little daunting. A few common questions tend to pop up, so let's tackle them head-on. My goal is to get you feeling completely confident about the process and thrilled with your final photo.
Can a Phone Really Compete with a Professional Camera?
You bet it can. The camera sitting in your pocket is a piece of technological magic, packed with features that were exclusive to pricey DSLRs just a few years back. The real secret to a killer DIY professional headshot isn't about having the most expensive gear—it's about knowing what to do with what you have.
Honestly, your control over lighting, your choice of background, and how you pose make all the difference. When you use soft, beautiful light from a window and pay attention to how you frame the shot, you can create a high-resolution, genuinely flattering image that holds its own against photos from much fancier equipment. It’s all about technique, not tech.
What's the Single Biggest Mistake People Make?
Bad lighting. I see it all the time, and it's the fastest way to ruin a perfectly good photo. Using your phone's built-in flash or relying on that single overhead ceiling light is a recipe for disaster. These harsh, direct light sources create deep, unflattering shadows, emphasize every tiny imperfection, and just scream "amateur."
The single most effective action you can take to elevate your photo is to find and use a large, soft light source. A window on an overcast day is perfect. Mastering this one element will improve your headshot quality more than any other factor combined.
That simple switch from harsh, direct light to soft, diffused light is the foundational principle behind every great portrait you've ever seen.
How Should I Crop My Headshot?
For professional platforms like LinkedIn, the gold standard is the "head and shoulders" crop. You want the frame to be tight enough that your face is the undeniable focus, but you need to include your shoulders to give the photo some context. It helps you avoid that awkward "floating head" effect.
A good rule of thumb is to crop from about mid-chest level up. And always, always leave a little bit of breathing room—negative space—above your head. It makes the final image feel balanced and professional.
To Smile with Teeth, or Not to Smile with Teeth?
Ah, the classic debate. The answer really comes down to your industry and the personal brand you're building. There's no single right answer, only what's right for you.
- A big, warm smile with teeth is fantastic for conveying approachability and friendliness. It’s a go-to for anyone in client-facing roles, creative fields, or collaborative team environments.
- A confident, closed-mouth smile can project authority, seriousness, and expertise. This often works well for professionals in fields like law, finance, or executive leadership.
My best advice? Take plenty of shots with both expressions. Look at them later when you're not in "photoshoot mode" and see which one feels the most authentic. Go with the one that best reflects the professional image you want to put out into the world.
Ready to take your professional presence to the next level? MakerBox uses AI to instantly generate optimized bios, profile pictures, and social media content that gets you noticed. Transform your profiles in just 30 seconds and see a real increase in engagement and opportunities. Create your high-impact professional profile with MakerBox today.